

Printmaking for the Holidays
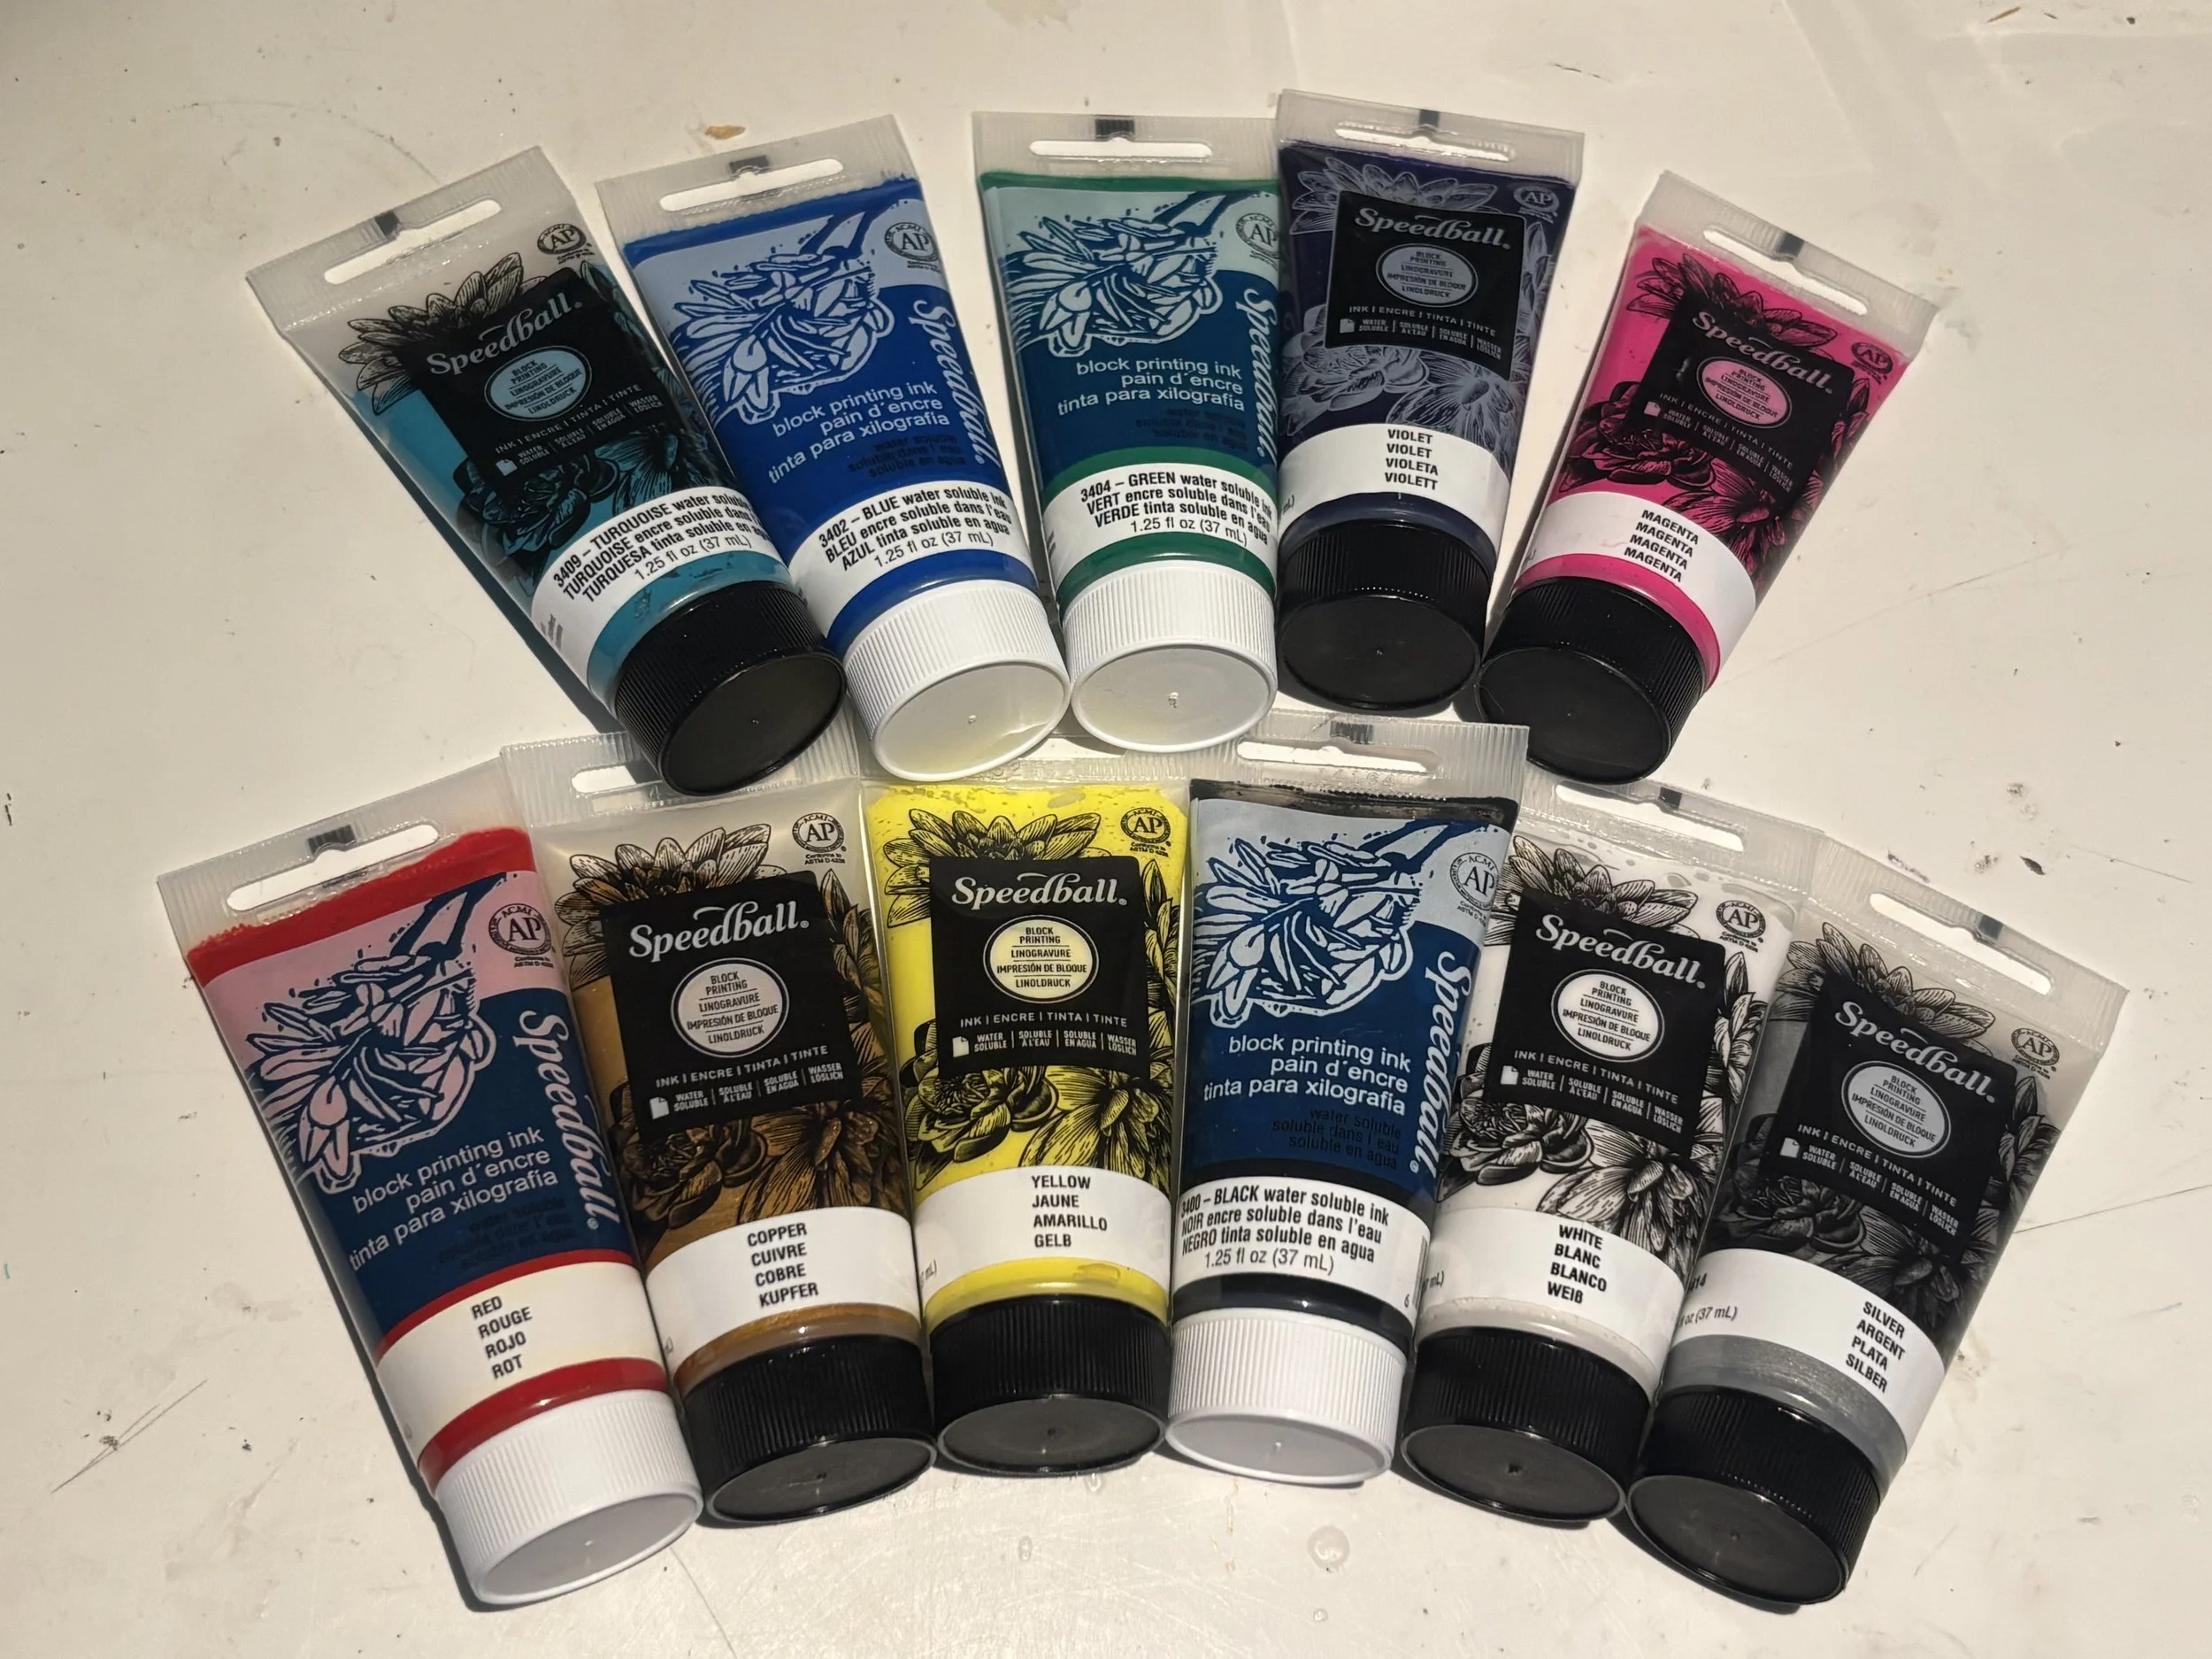
My printmaking ink colour range
Hey there and Happy Holidays dear reader! I hope you’re enjoying your time with friends and loved ones.
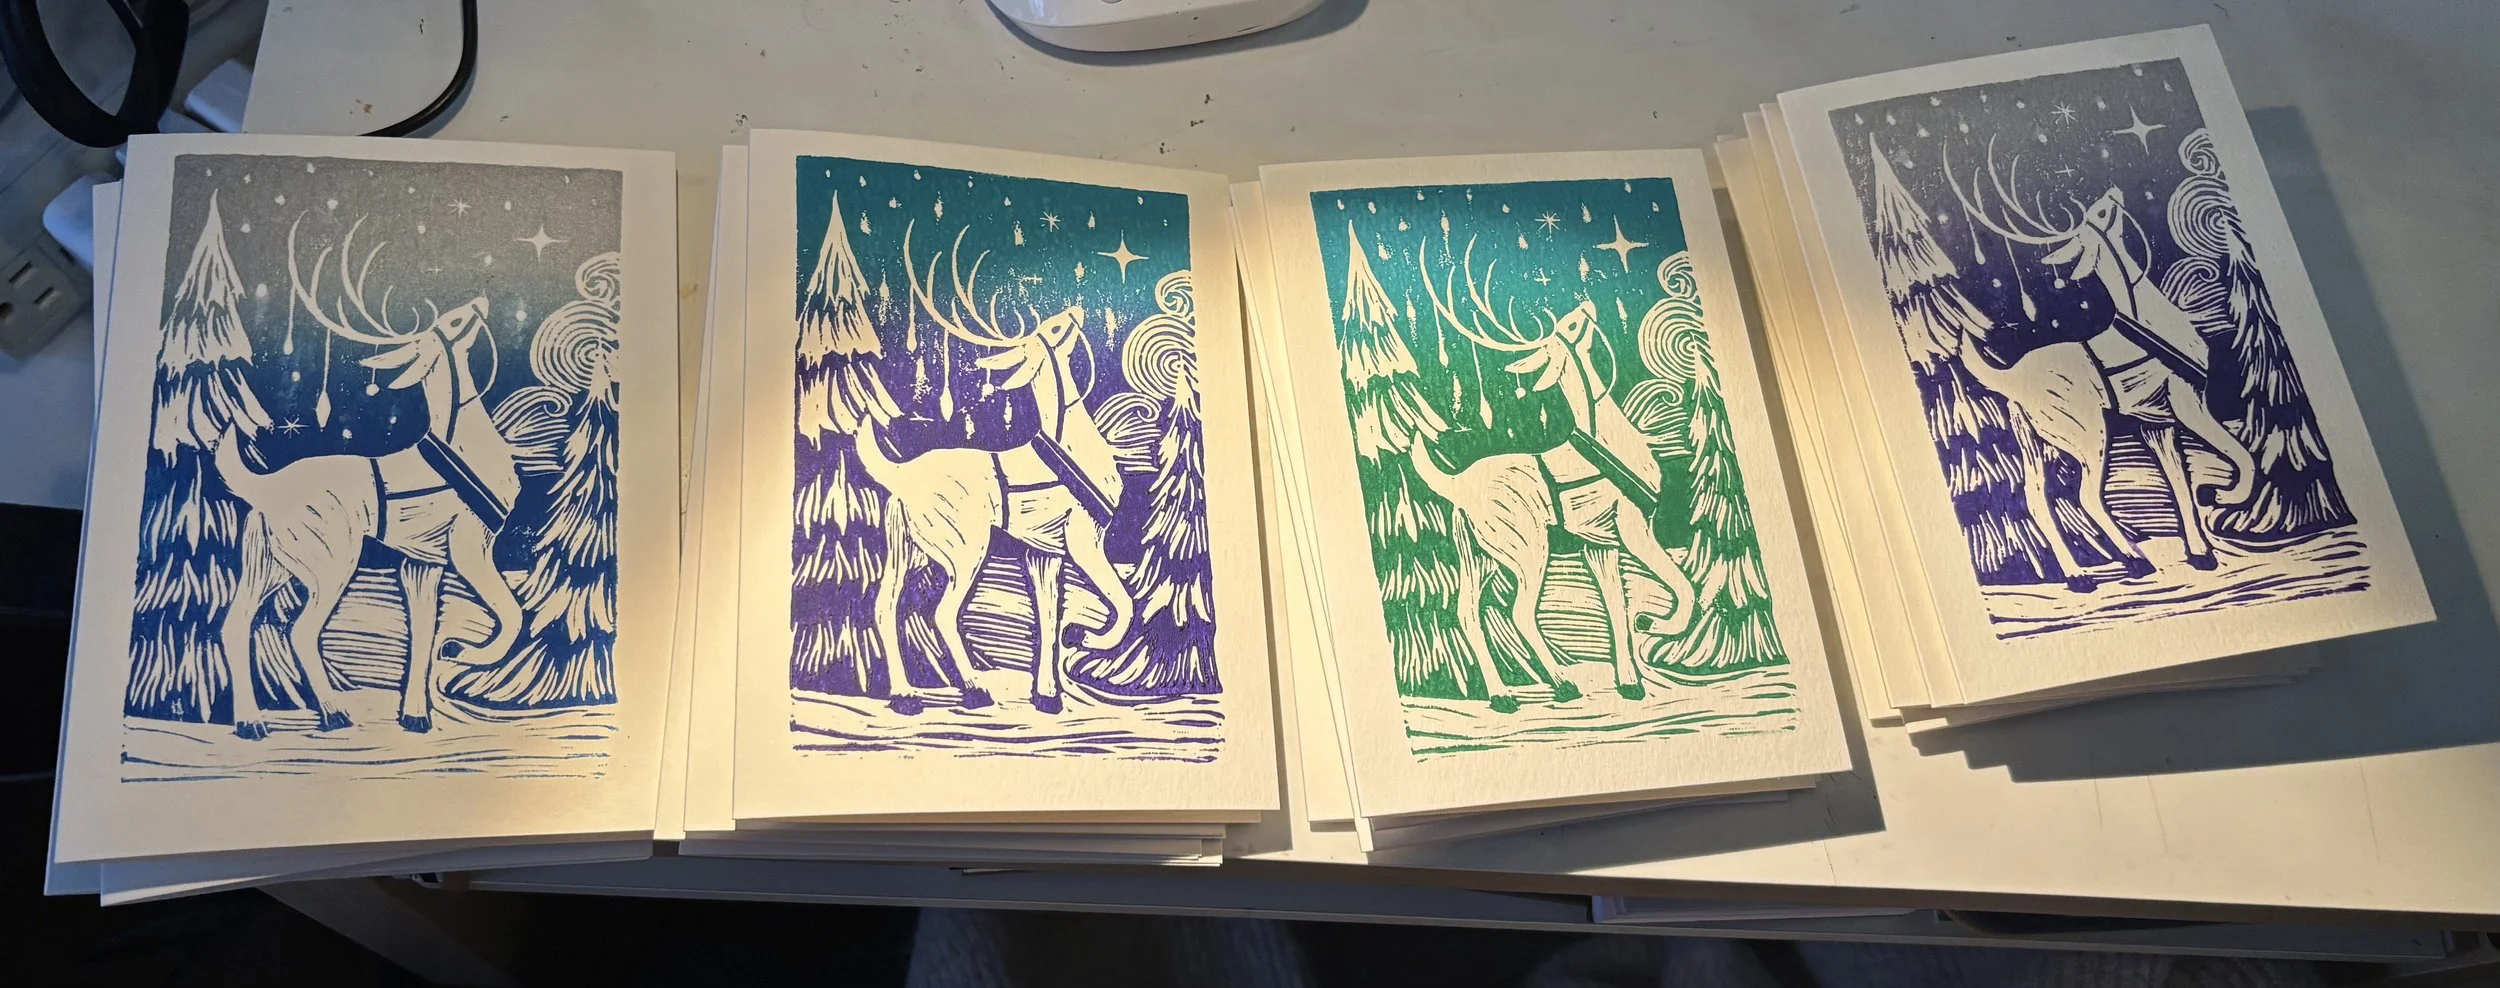
This year I had the opportunity to sell my handmade linocut cards at a holiday Christmas market in downtown Toronto named Arterial, located on Adelaide. I had time to print three designs this year:
- One of which I cut last year that I’m just reprinting in more colours
- Two new designs (one that I’m selling at the market and another exclusive design for friends and family that I’m trying to keep a secret)
I’ve done printmaking several years in a row for my Christmas cards since I like making one design and then reprinting it in a variety of colours to get my cards done in a big batch yet still have unique colours and a handmade touch. Below is my card from my second year, featuring a clear blue night sky with the moon, a fresh coat of snow and a log cabin. We won’t talk about the card from first year, haha.
Looking back on it I see some areas I could have improved, for example in the middle area where my block didn’t make as much contact with the paper that resulted in some patchiness in the centre of the blue area around the stars.
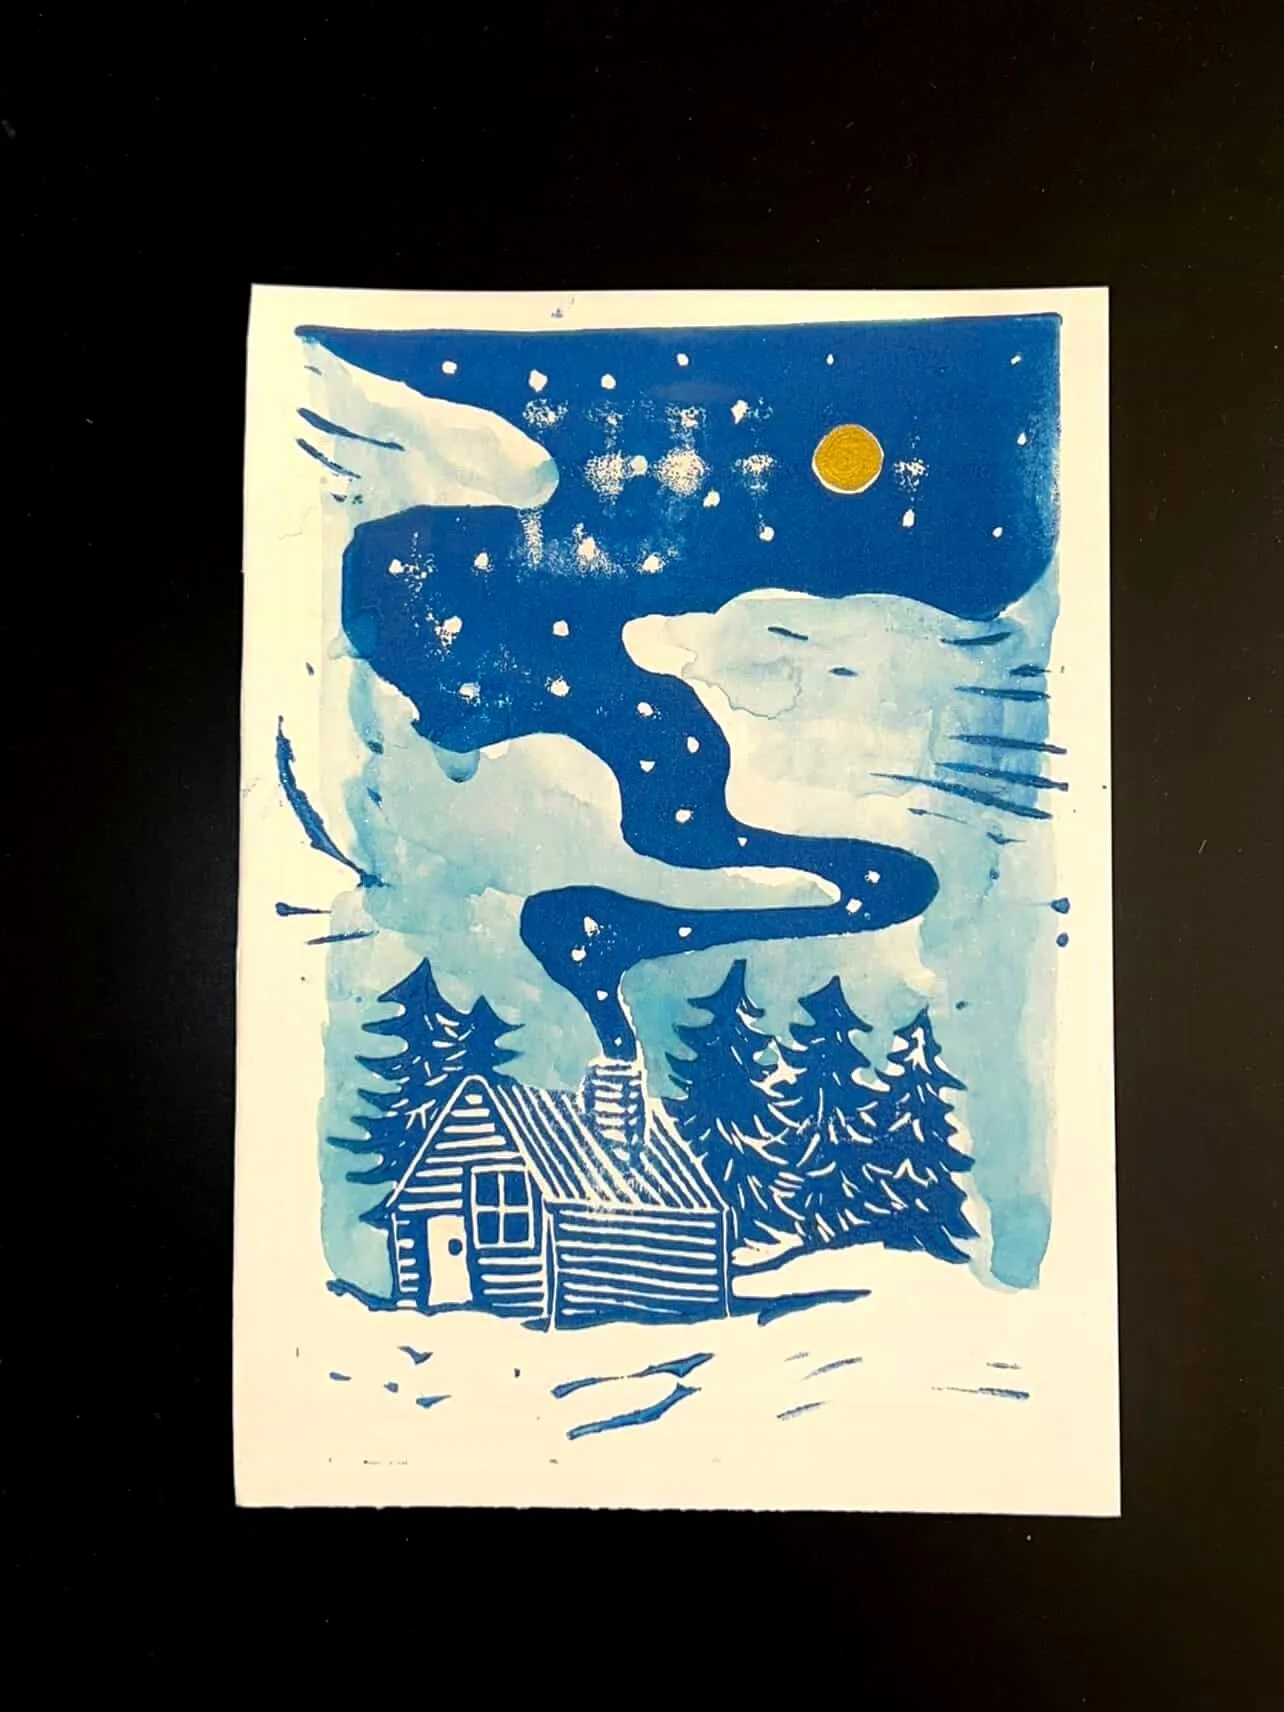
My second year of printmaking my Christmas cards.
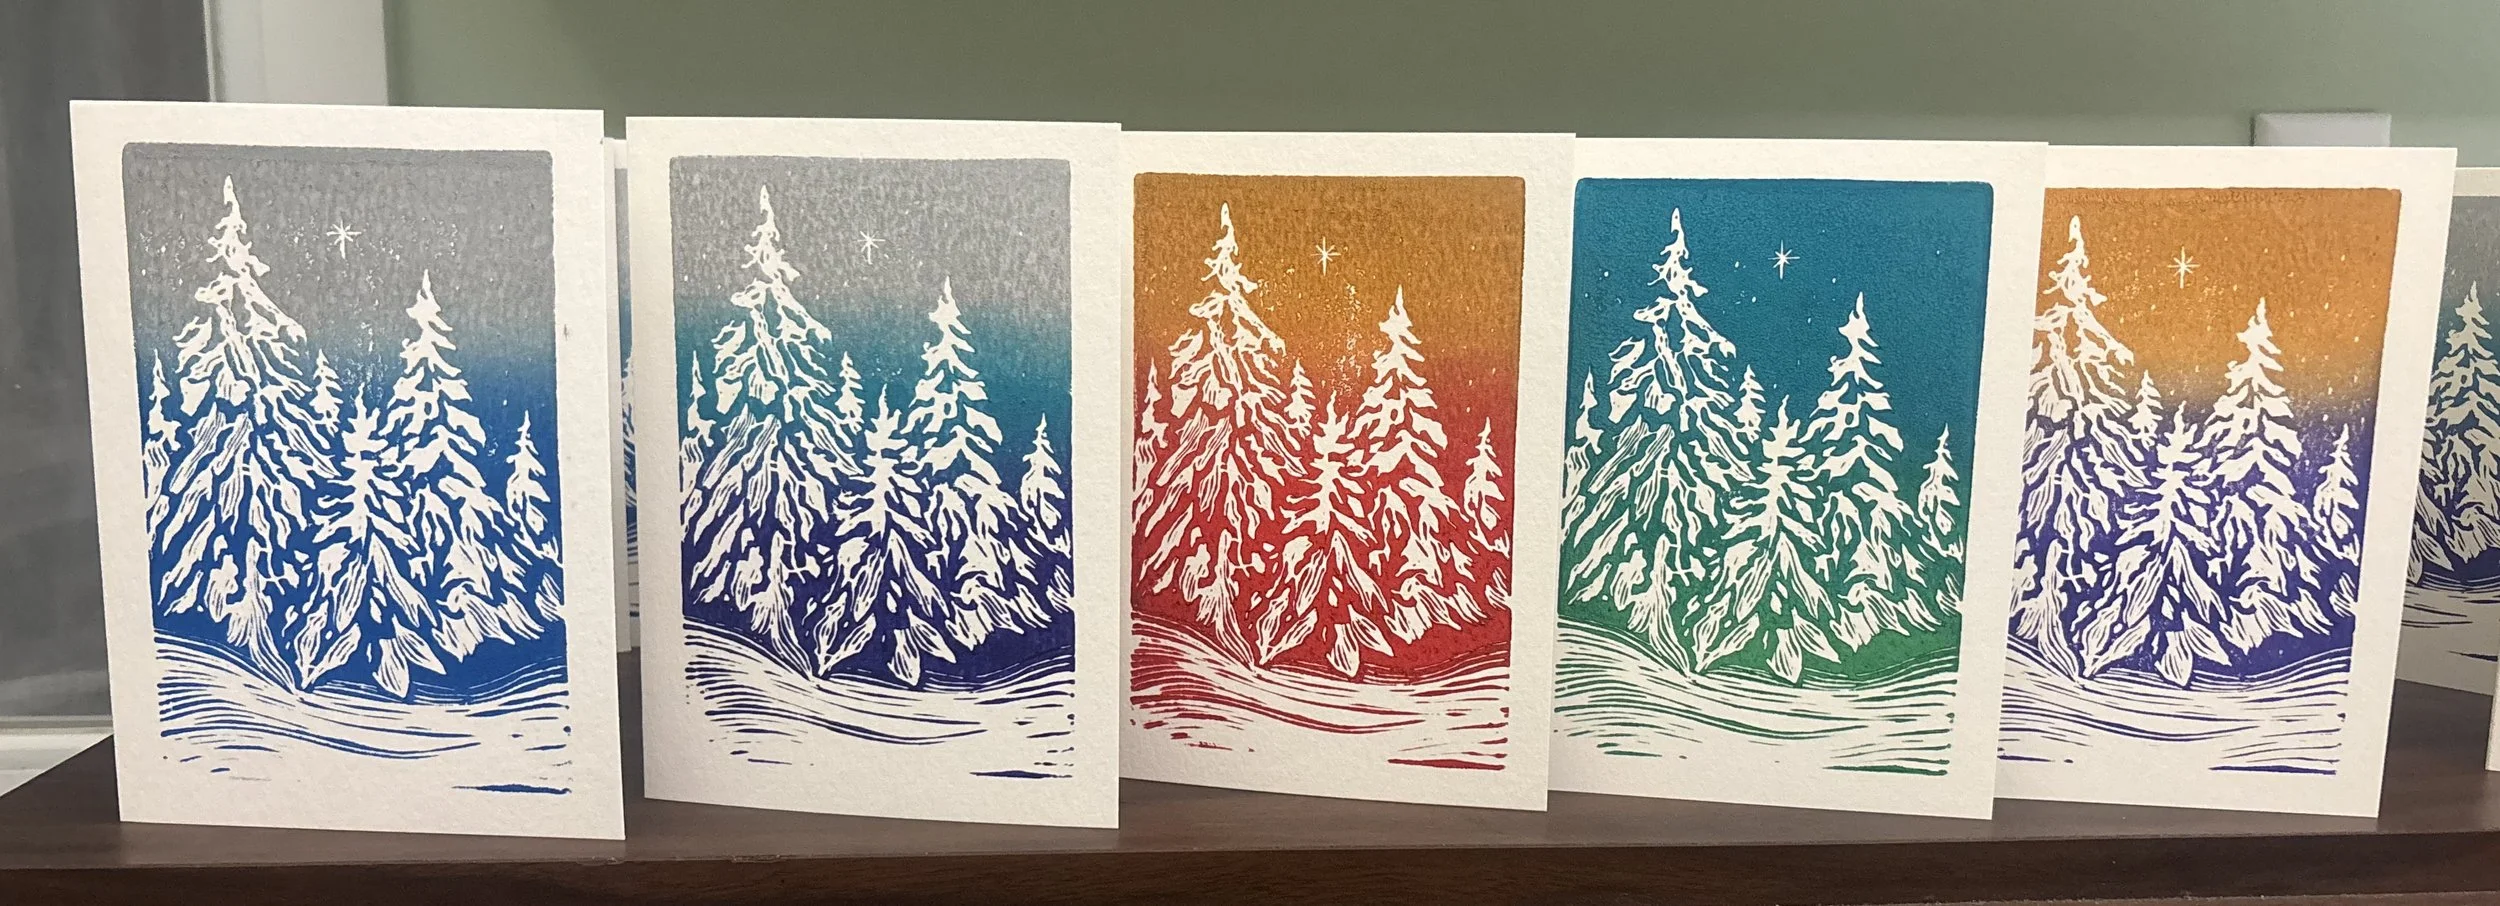
My design the following year, featuring snowy evergreen trees and the North Star
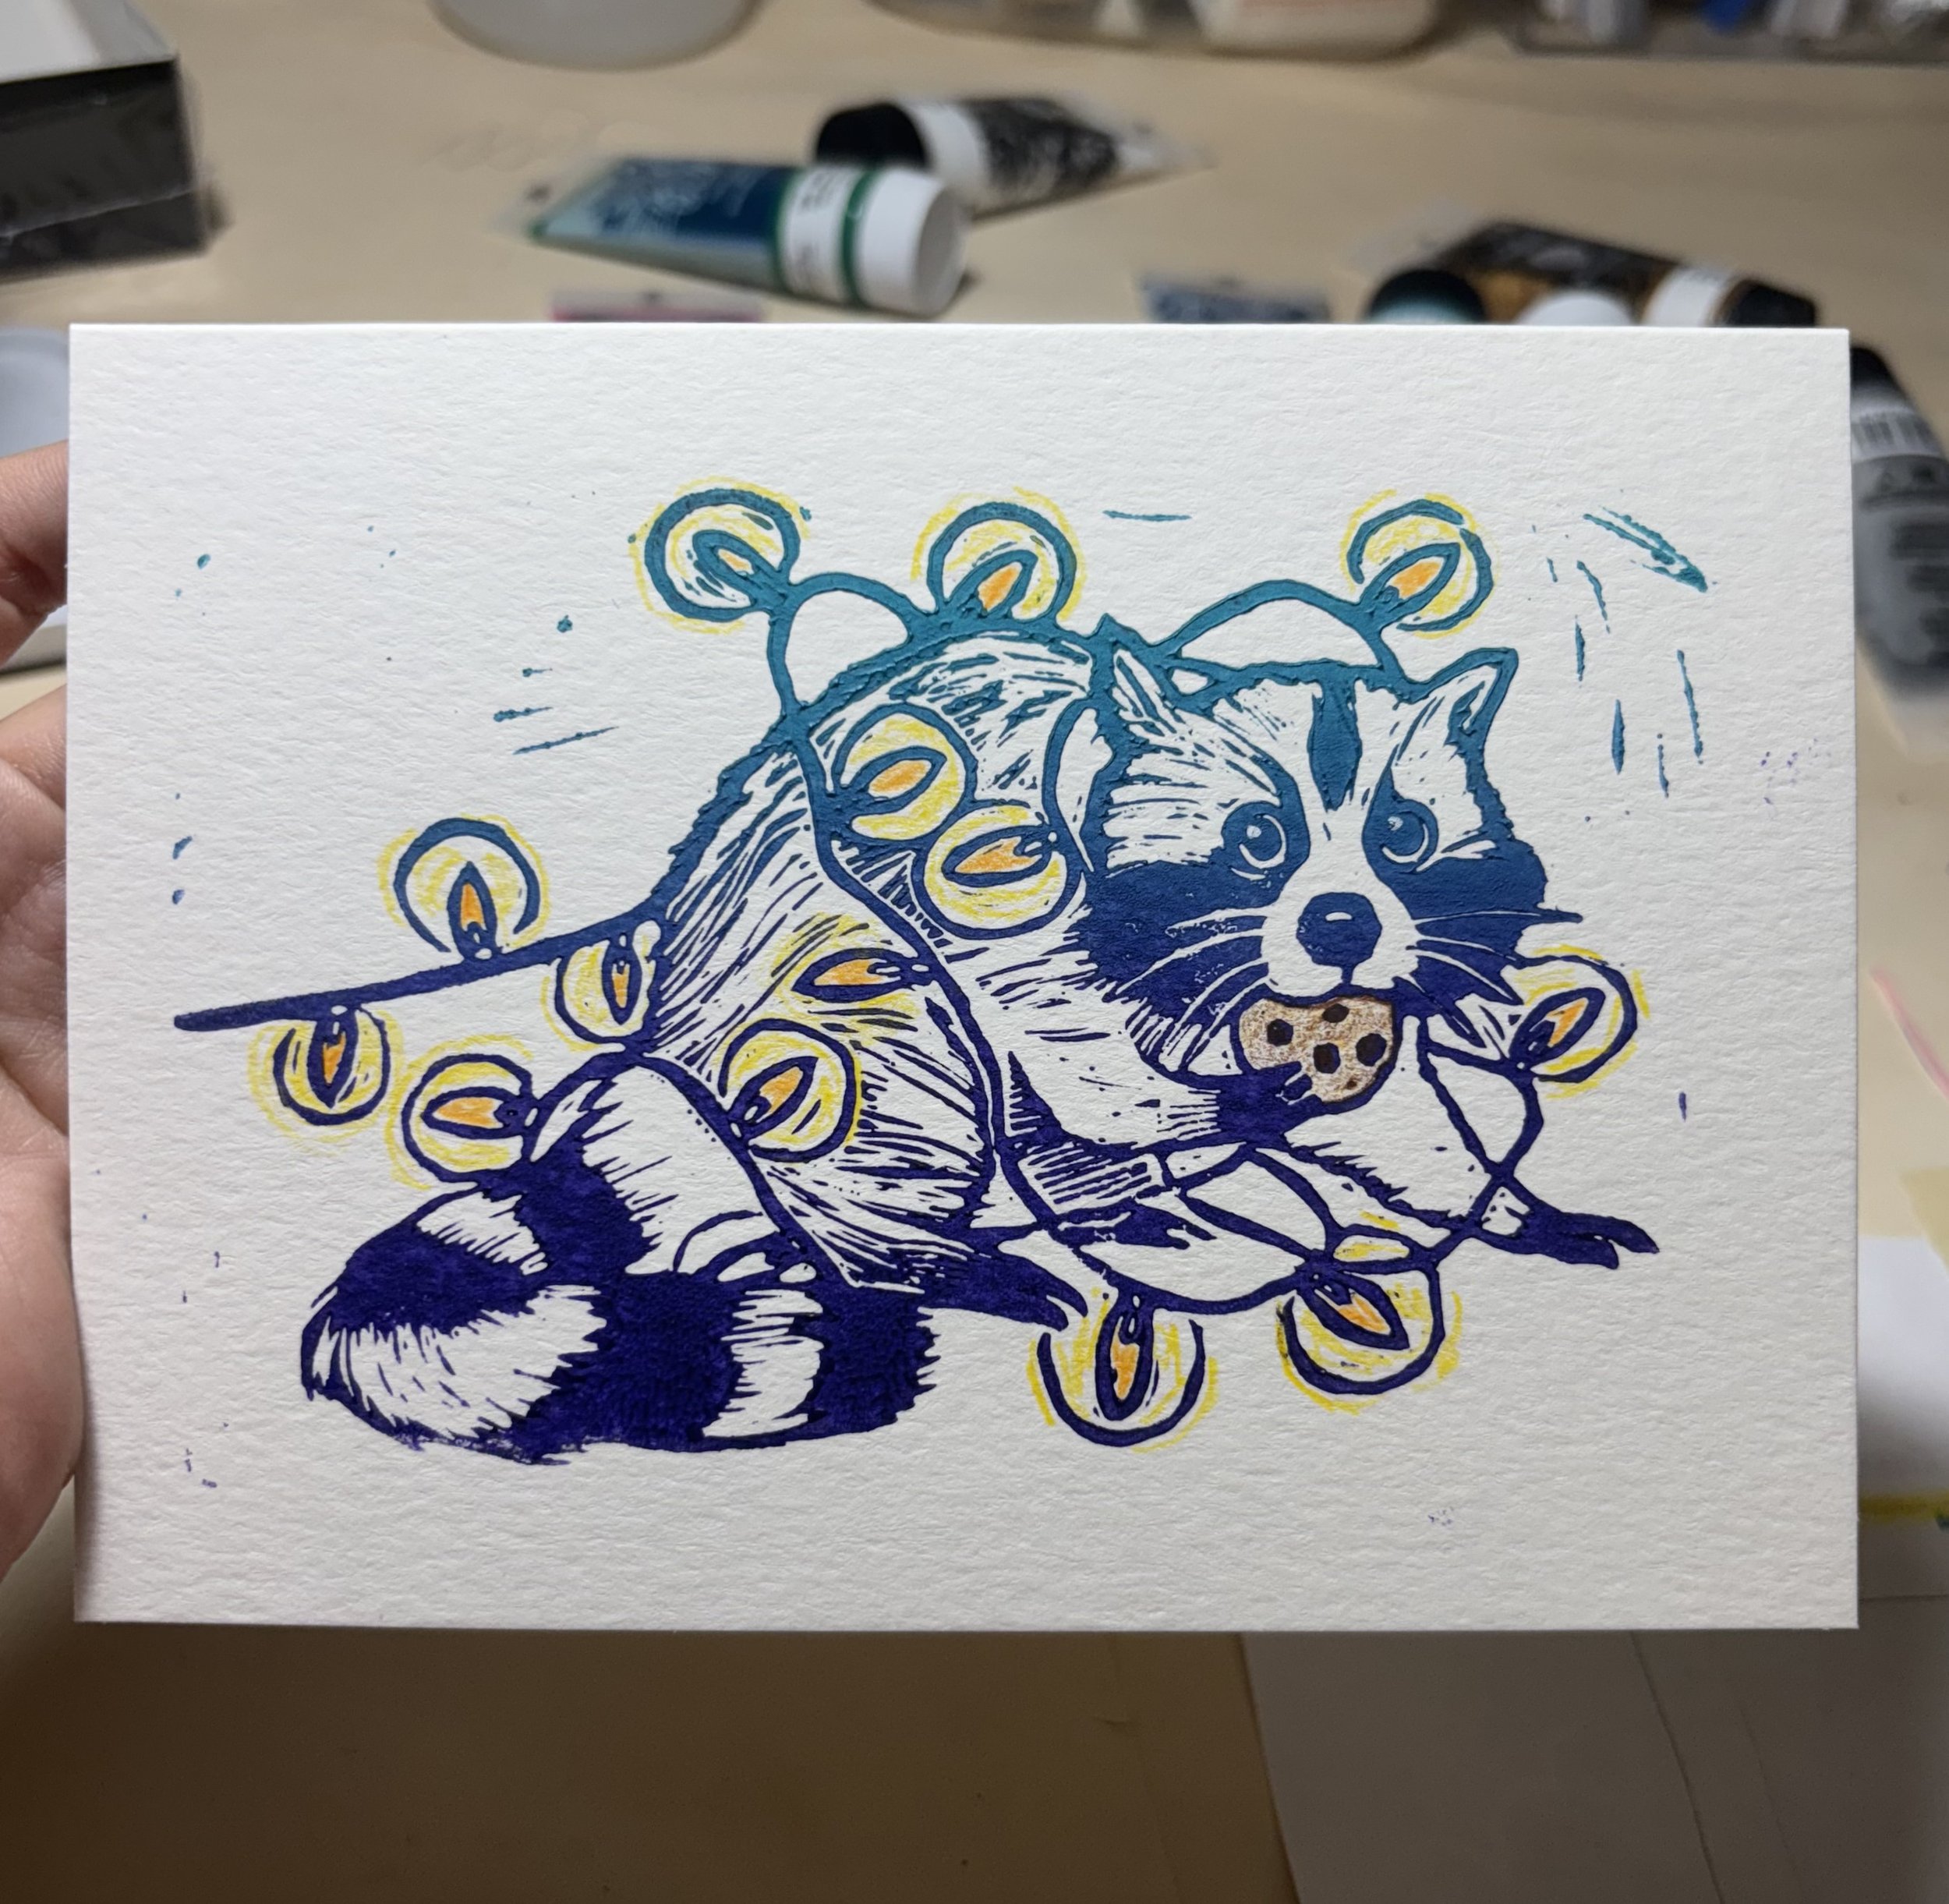
One of the new designs I made this year featuring a raccoon stealing a cookie left out for Santa.
My most recent design! Which so far I’ve managed to keep a secret from my family and friends. (I’m not good at keeping things secret)
I hope you can see improvement because I think I do! My materials for these include: Speedball handle and blades, Speedball rubber brayer (hard), Speedball pink professional lino block, Strathmore mixed media cards, and Speedball printing inks. To do final touches I’ll also add on watercolour pencil, inks, and gold/silver/white markers.
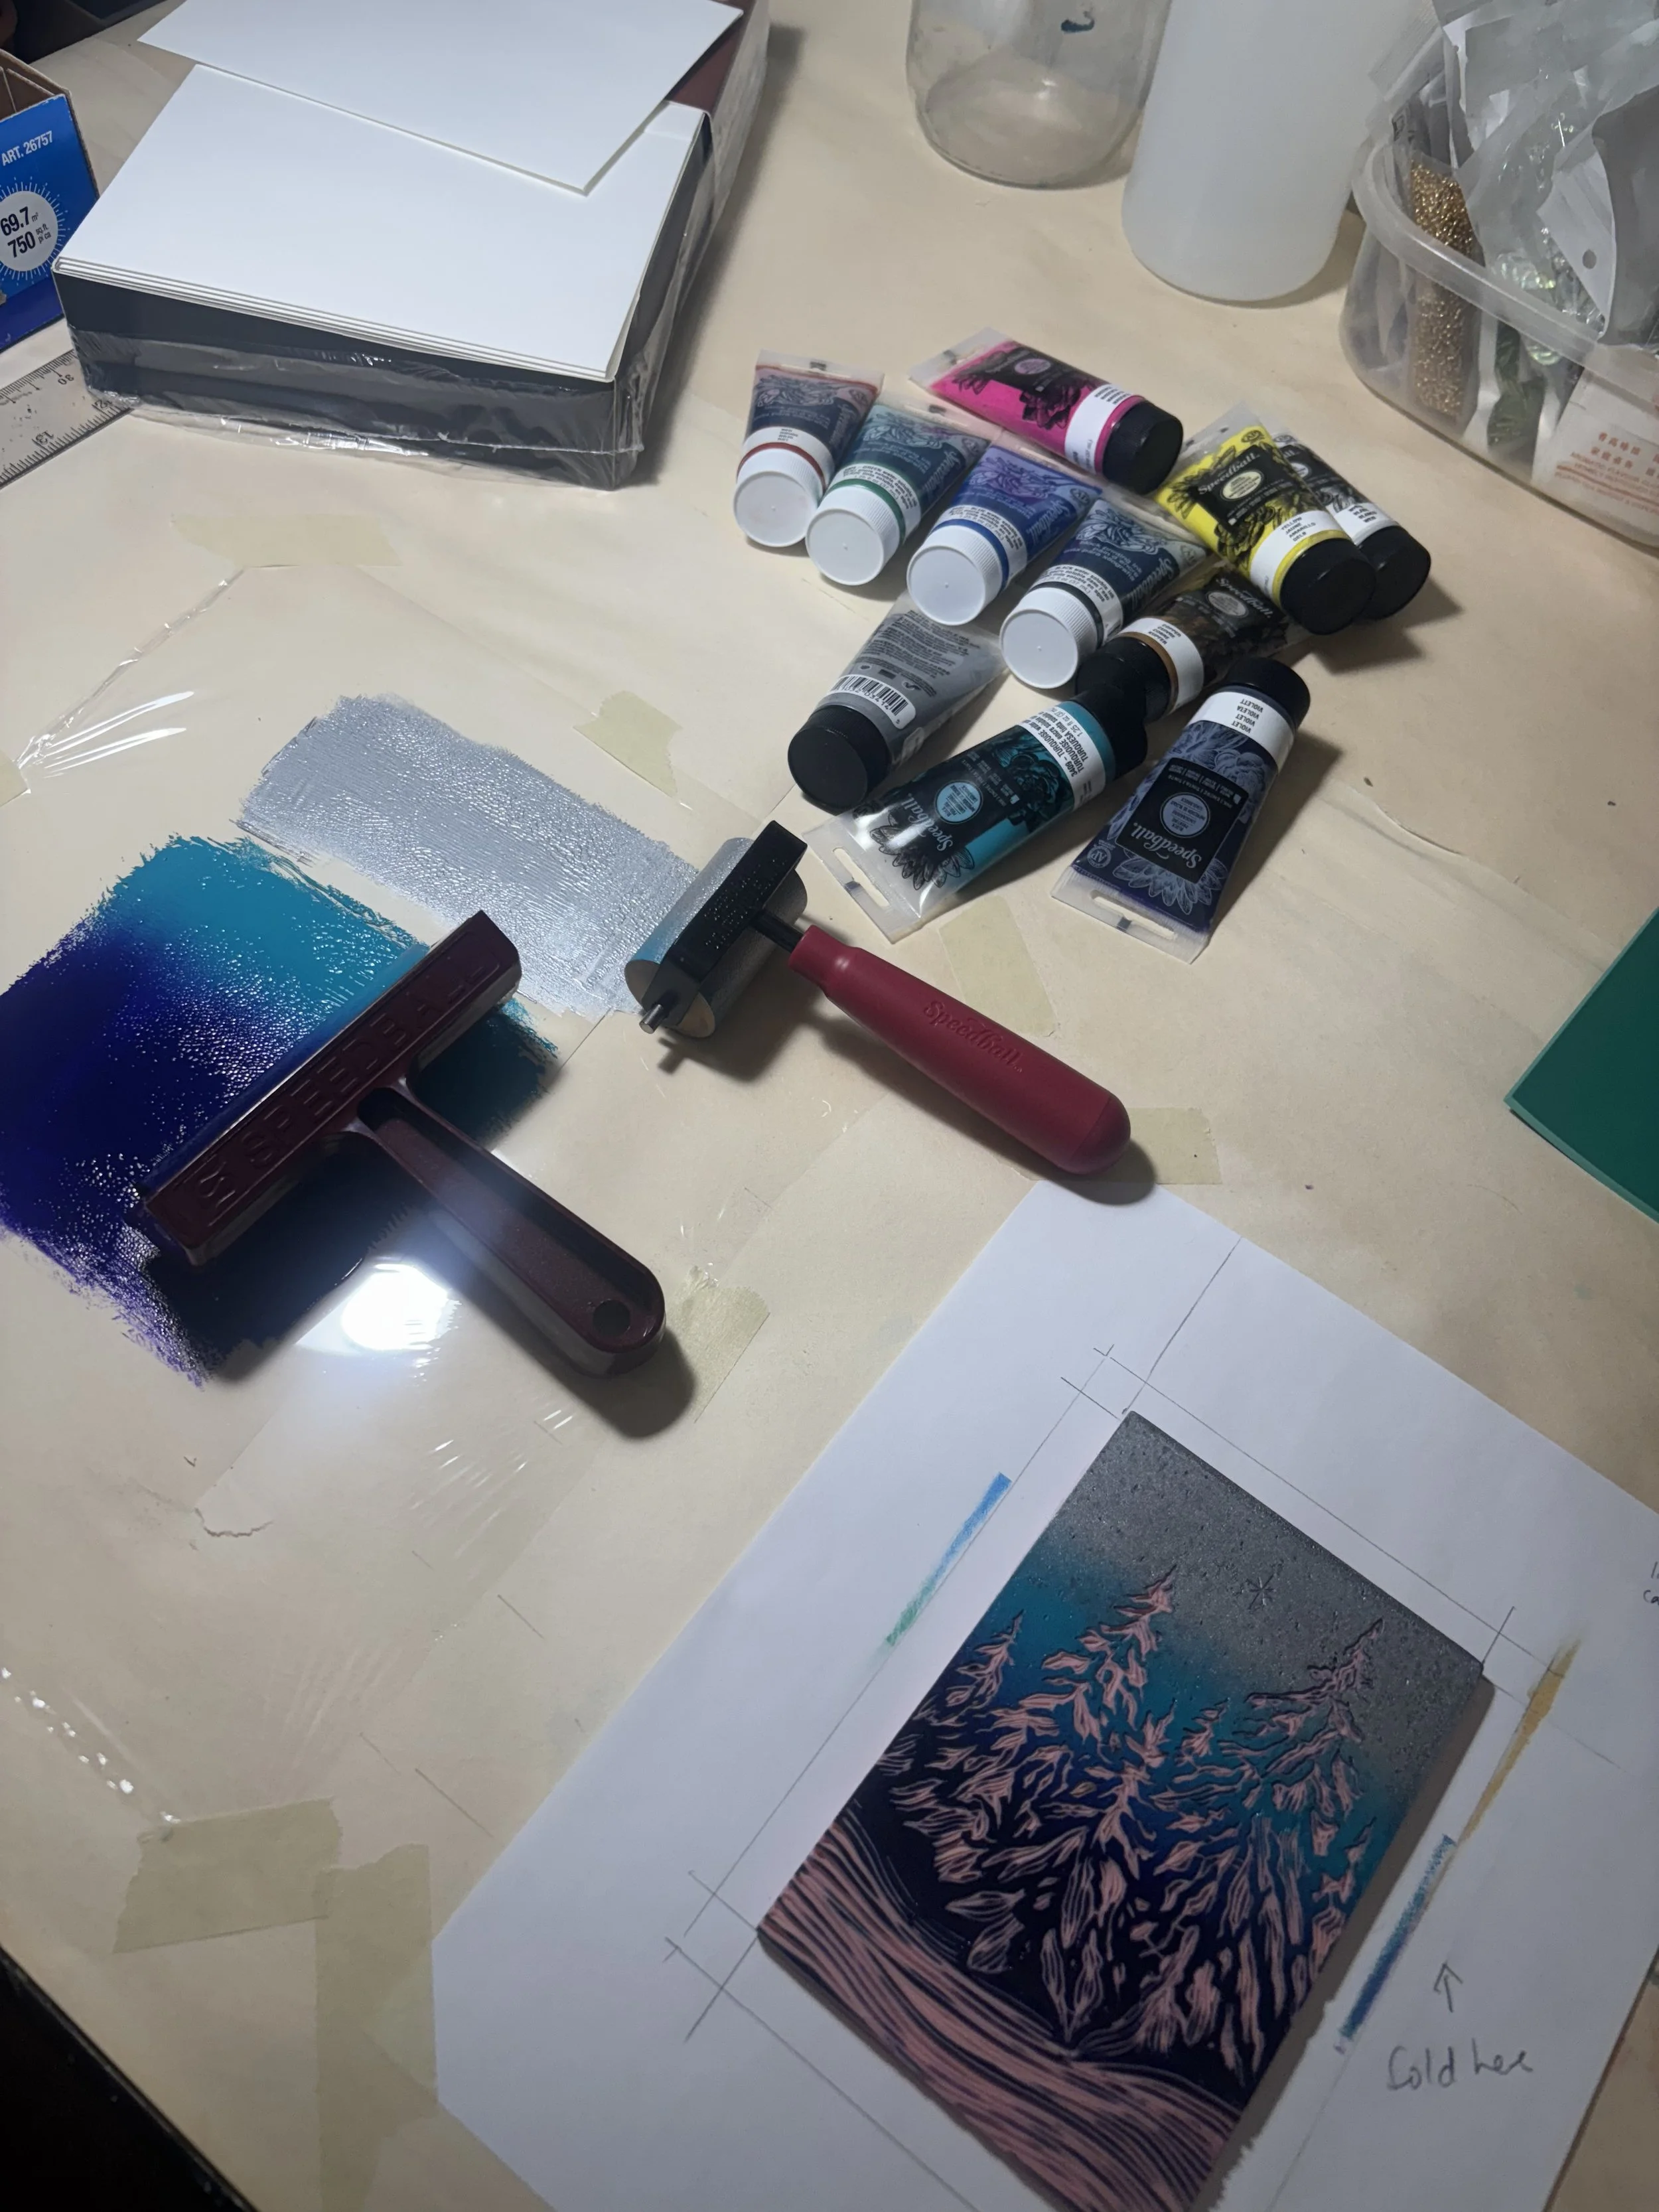
I roll my colours on saran wrap and make a template for lining up my card.
My process for these goes as follows:
Collect inspiration images and visiting stores that sell Christmas cards to get ideas
Sketch out a rough idea on paper using a mechanical pencil with soft lead (I like a 2B lead)
Once I’m content with the sketch, I get the sketch and flip the paper on top of my carving block. Using a wooden spoon or the round part of the back of my carving tool I transfer my drawing to the block (anything you draw will come out backwards, keep that in mind if you’re doing words especially)
Generally I’ll carve big areas first and switch blades out to get smaller and smaller. Sometimes if theres small details I’ll do that first to get it over with, because the more you carve the less stable the block will be. I use my judgement most of the time.
Around 3/4 the way I’m done carving I’ll use a permanent marker to go over the top layer of the block to see what needs refining. It’s an easy way to tell what will be the positive/negative parts of the print without going through the work of inking and washing.
Once I’m happy with that I’ll go ahead and do a test print with a single ink colour on cheap paper.
If I’m happy with that I’ll move forward with more colour variety, make a template for where to place the card and the block (with a clear note for myself on where to put the fold since I’ve made one too many backwards cards) and do a print on the good card paper.
Sign it at the bottom with a print # and total # cards made, along with the title of the piece if there is one.
Write inside the card and address it on the front if necessary. Make a matching stamp for the back or use a wax seal or sticker to seal it shut.
Done! This whole process usually takes me several days since the drying time in between cards, writing them, carving all takes quite a while.
I generally enjoy using Speedball tools, although some of their inks vary in consistency depending on the colour which can sometimes be a challenge. I’ve also wanted to upgrade my blades and handle to a nice set of wooden handled ones - but those come with a higher price tag that I’m not ready to put down (just yet!). This set below in particular is a Japanese import that I’ve had my eyes on for a while. For now I’ll stick to my budget carver by Speedball and upgrade my tools after I’ve saved up for them.
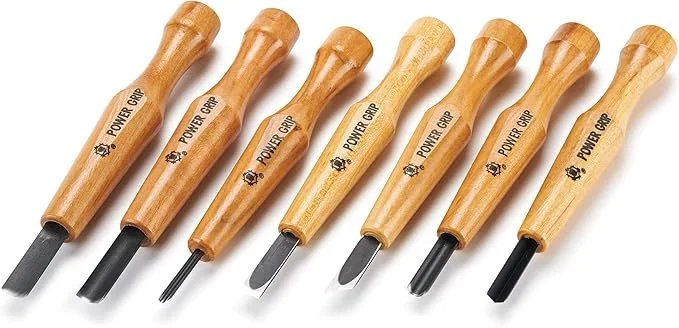
Gotta save up for these one day! So ergonomic
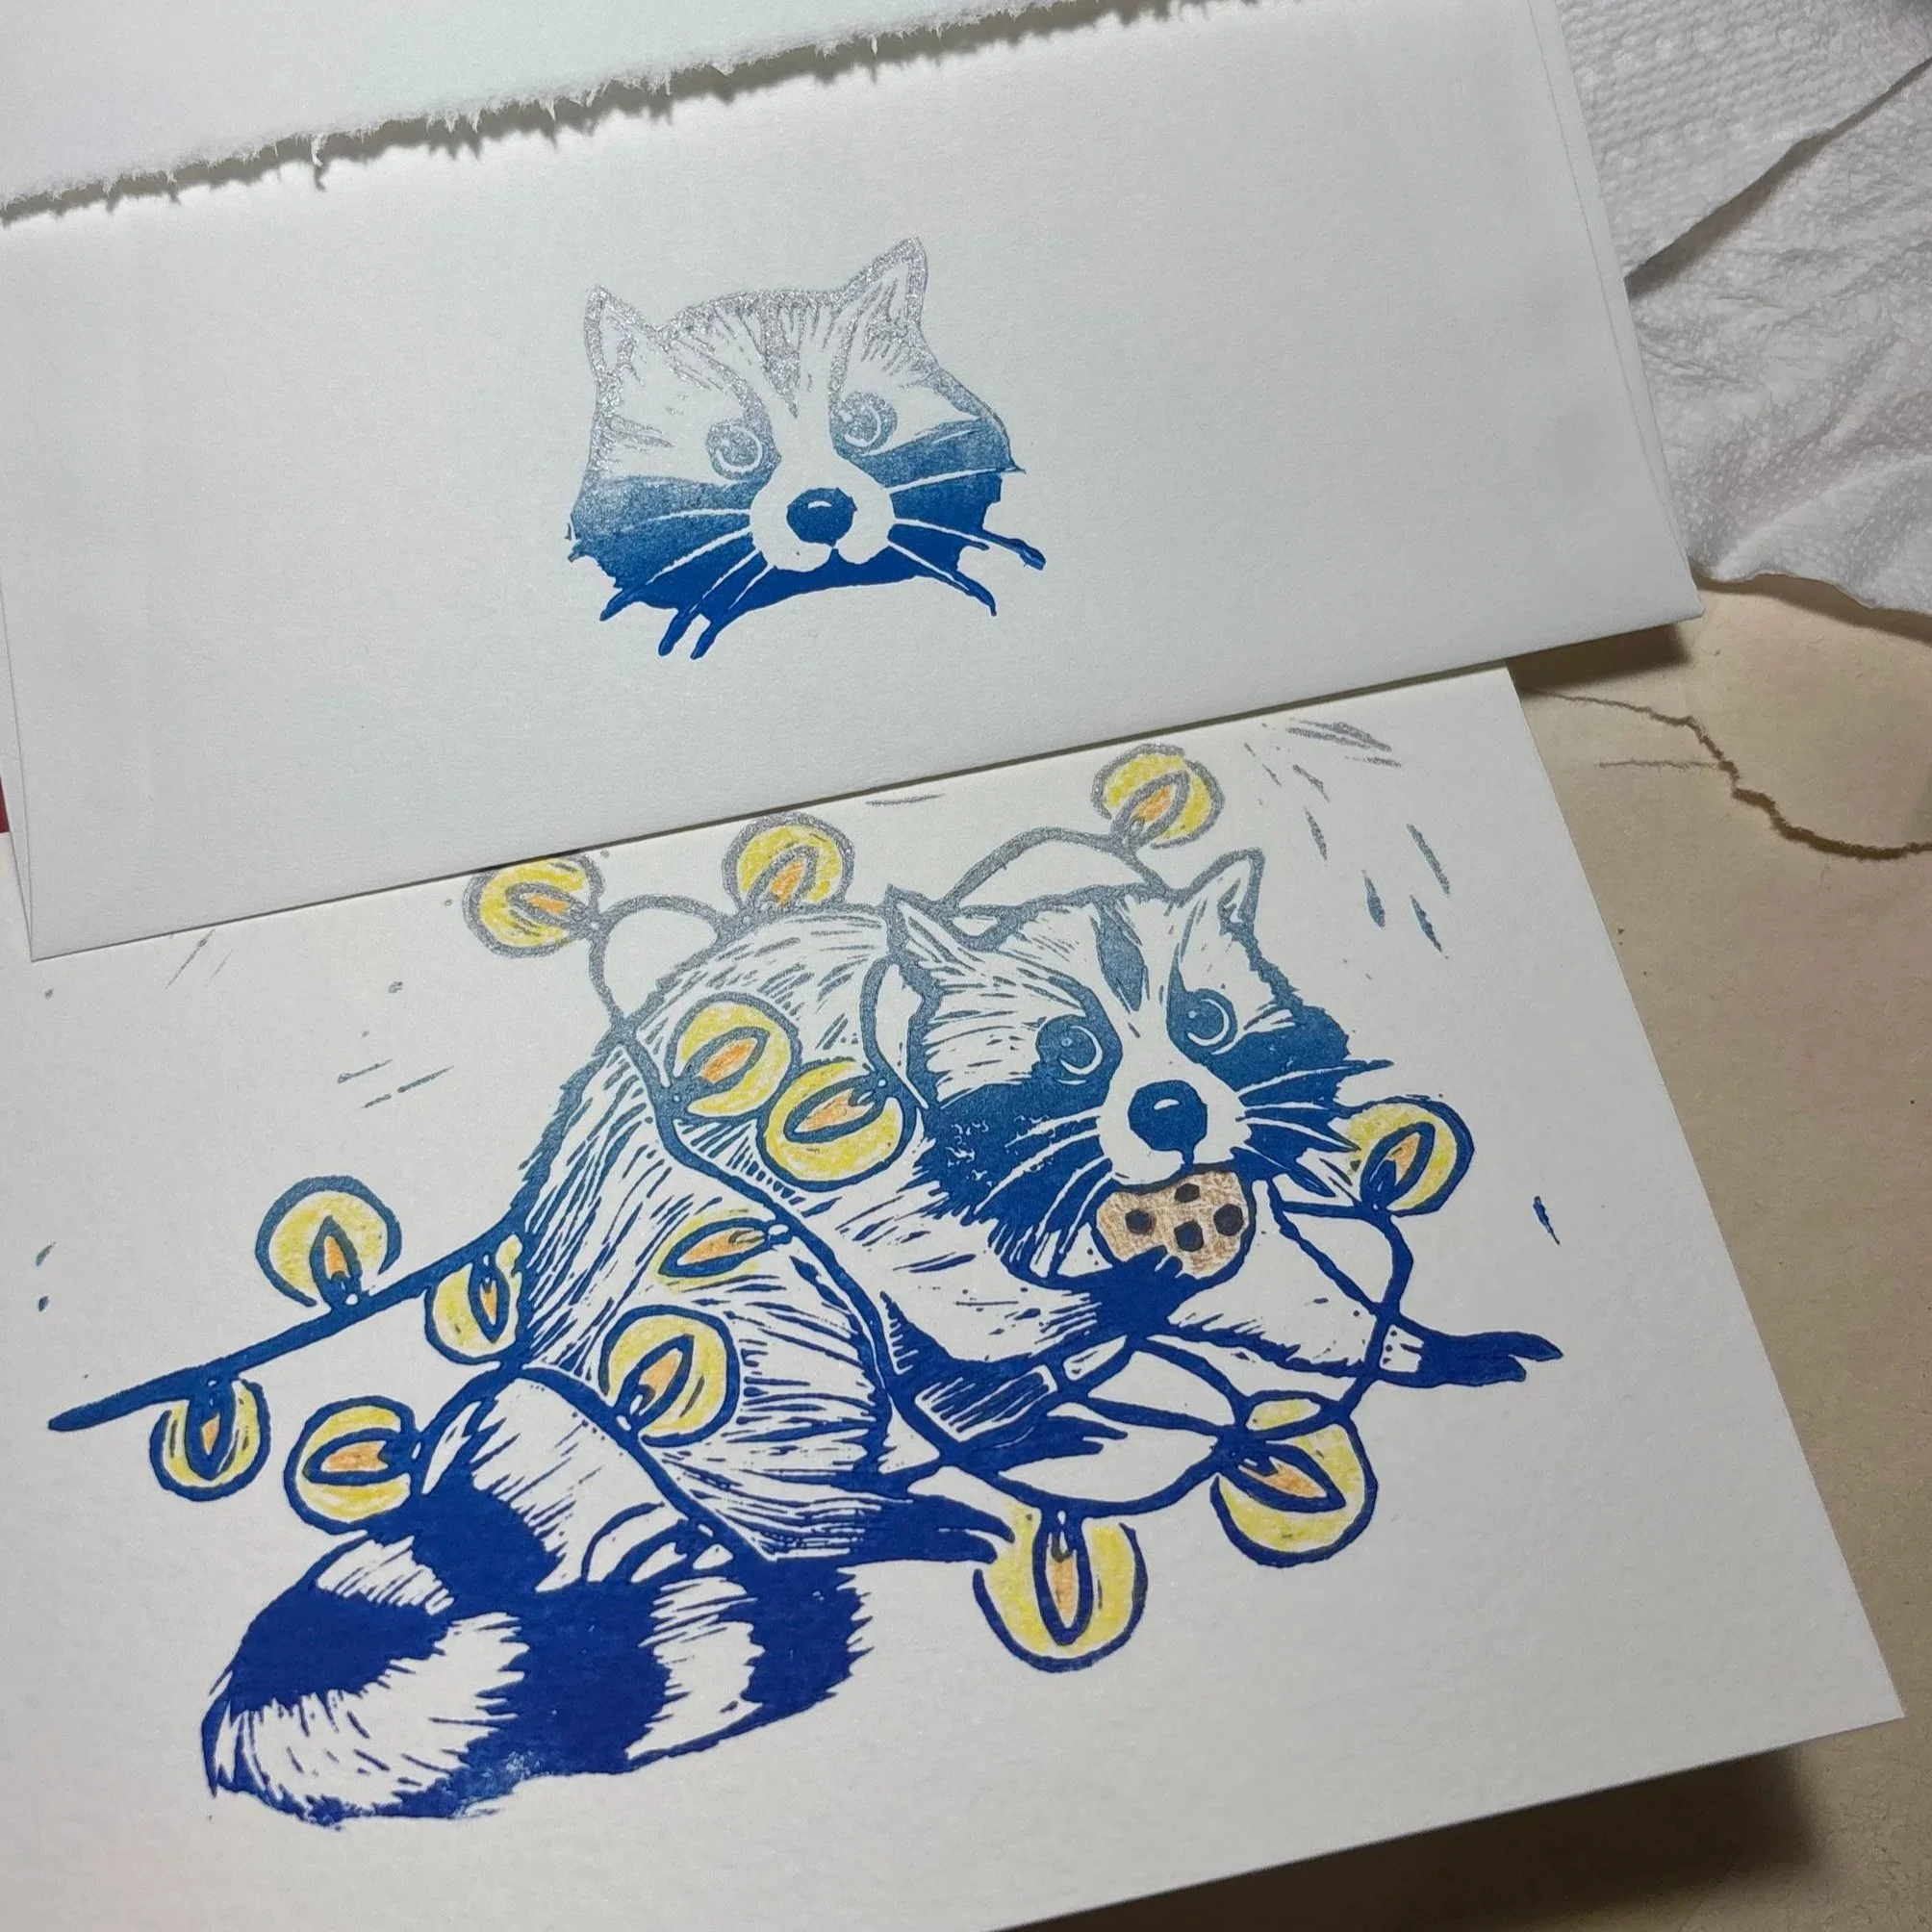
Racoon card with matching envelope stamp
Adding a background with an ink wash
To finish off the cards I made a matching round stamp for the envelope or wax sealed them with my monogram.
Thanks again for reading about my process, I hope you enjoyed!
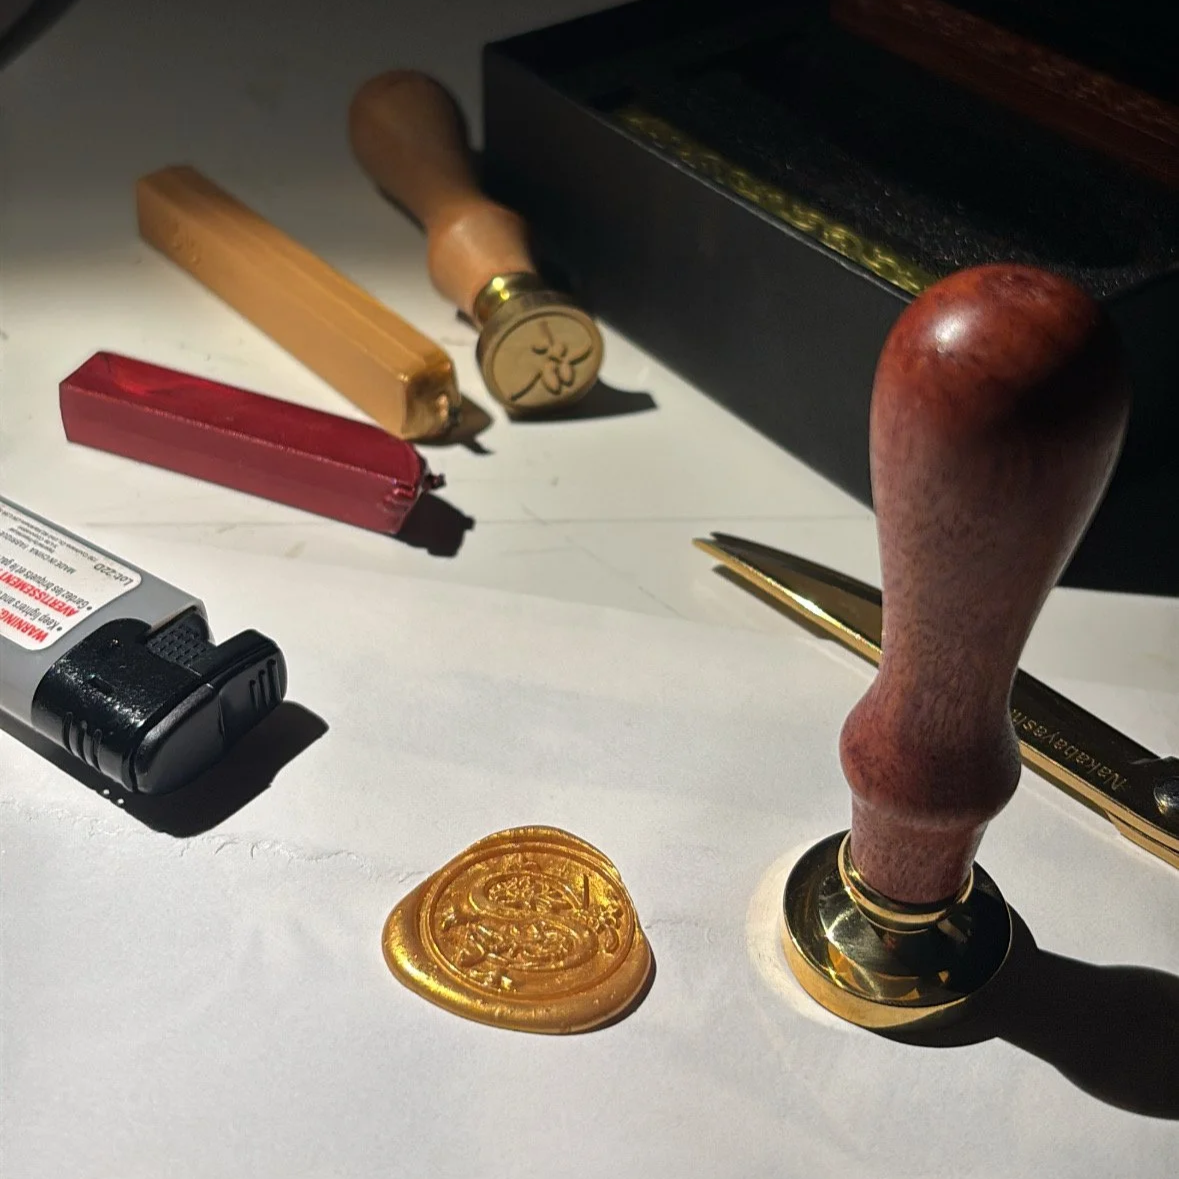
My personalized wax seal with the letter “S” engraved
